Average Reviews:

(More customer reviews)I have been using the violin now for two days (about 2 hours total during that span). I ordered it on Wednesday, and it was at the doorstep the following Tuesday. Pretty good shipping time, I can't complain.
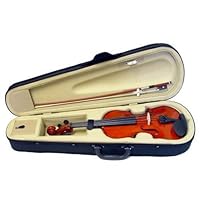
So just like everyone says, there is some assembly required (and Austin Bazaar is up-front with this information). Basically, when you receive the violin, you will get five things: the violin itself, the bridge for the violin, the bow, a rosin piece, and a case. The assembly of the bridge is fairly straight-forward, but it would be nice if Austin Bazaar would mention somewhere how to do it (a few pictures and some instructions would be enough). To make it simple for anyone who buys this violin, do the following to assemble the bridge:
1. Set the violin on the floor, strings facing up.
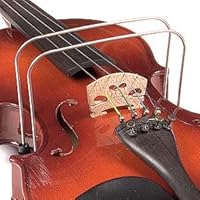
2. Find the f-shaped holes on the main body of the violin. Each hole should have two notches in them (one on the left, one on the right).
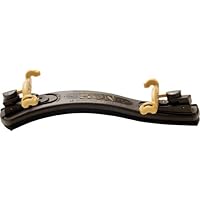
3. Look at the bridge (the little wood piece with the four holes on it). There should be two little feet (the bottom), and a curved edge (the top). On the top (curved part), if you look at it from the front, you should see that one side of the curve is higher up than the other. That side goes on the side of the violin with the lower/thicker strings. The low side of the curve goes on the side with the higher/thinner strings.
4. Now you know how the bridge lines up. Slide the bridge under the strings (loosen them if it is too hard to slide it under; don't force it too much). The feet of the bridge touch the violin body, the curve touches the strings (don't put the strings through the holes in the bridge, they go right on top of the bridge, and rest along the curve).
5. Once the bridge is in place, tighten the strings enough to hold the bridge in place without your help. As you tighten the strings, make sure that the feet of the bridge stay flat against the body of the violin. If they start to tilt up, lightly slide them back to a flat placement.
6. Now, just tune the violin. The strings tune to (in order of lowest/thickest to highest/thinnest) G, D, A, and E (perfect 5ths between each string). Don't tune it too quickly, or the string may snap. You may want to tune the strings 3/4s of the way and then leave it for a few minutes, and then come back and slowly finish the tuning (if you've ever tuned a guitar, this is very similar). Once you get the strings properly tuned, they WILL un-tune themselves for a bit. This is day two, and I've tuned the violin probably 15 times so far. At first, it wouldn't tune at all, but it started to keep after a few tunes. Also, as Austin Bazaar says, push the pegs inward as you tune (not too hard though, as it can warp the wood slightly, and de-tune your other strings), and this should help. If that doesn't work, put some rosin on the pegs. As a last resort, us peg drops (which SHOULD have been included, but oh well).
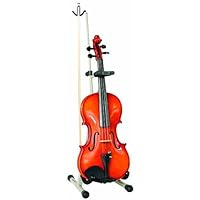
7. Tighten your bow string fairly tight using the screw at the bottom of the bow (don't go crazy, just tight enough that the bow-string will barely touch the bow when you put pressure on it). Take your rosin out, and use some sandpaper to grit it up a bit. Once you have done that, slowly rub it up and down the length of the bow, stopping at each end and using the bow string to grit the rosin up a bit more (make a polishing sort of motion on the rosin). The first time you do this can take some work (10-15 minutes).
8. You should be all set to start playing! From here, you need to learn how to play, and that is more in-depth that I care to go on my Amazon.com violin review. :)
So in summary, if you have always wanted to play the violin, but aren't sure how much time you will dedicate towards it, this is a pretty good way to try it out. If I'm still playing in 2-3 years, I'll probably look at something a bit more refined, but until that time, this violin looks as if it will do a great job (perhaps I will even pass it on to my first child when I have one, as a starter instrument)!
Click Here to see more reviews about:
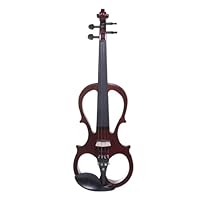
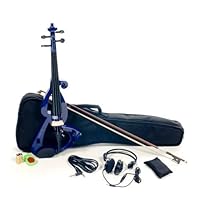
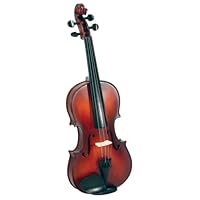
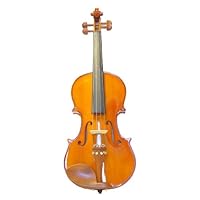
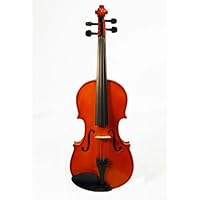
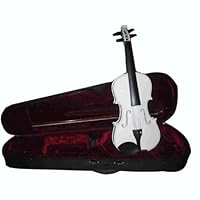
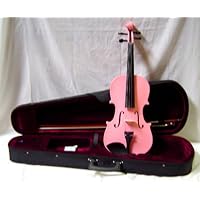
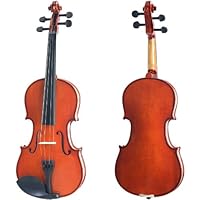
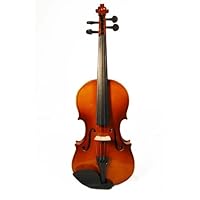
Full Size Violin 4 X 4 with Case - Black ColorFree carrying case. Four fine tuners. Featherweight case with strap and carrying handle. Pear wood fingerboard. Rosin. Accessory colors/style may vary.Here are some hints to help keep your violin in tune:1.Although the violins come with a bridge, it is not installed. Installing a bridge should not be too difficult, but if you have a problem, please email us. The bridge has to be installed for the violin to play correctly.2.Strings do tend to slip and lose their tune on a new violin because they need to stretch. If this happens, just give it time. This does NOT mean that the violin is defective. The strings just need time to settle in.3.If the violin pegs keep slipping, try to push the peg in while turning it. If they still don't say in, peg drops are available at most music stores. They are relatively inexpensive and should help the pegs stay in.4.If a strand of hair breaks on the bow, take a pair of nail clippers and cut it from the frog (bottom of the bow) or the top of the bow. A few hairs are bound to fall out with play. Remember to rub a little rosin (included) on the bow before playing.
 Get 55% OFF
Click here for more information about Full Size Violin 4 X 4 with Case - Black Color